Happy Halloween! While I’m not the biggest fan of dressing up and going out trick-or-treating (maybe because I grew up in BFE where trick-or-treating was having your mom drive you to your neighbors house miles away) I still have a little holiday spirit.
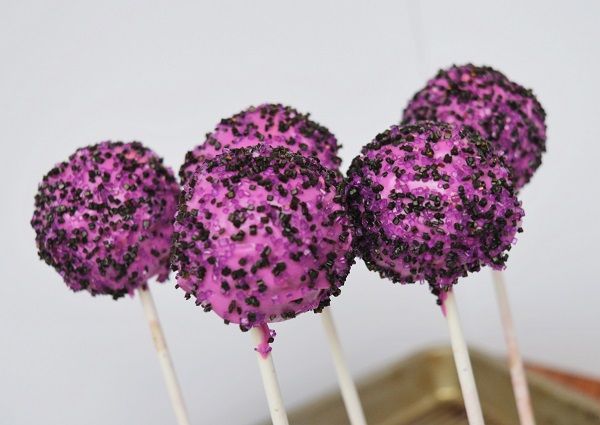
Today I want to share with you my Halloween inspired cake pops. I am no where near an expert with cake pops and am honestly glad they didn’t all fall off the sticks and just end up in my mouth. I made these ones by baking the cake in the actual round form. I have done them with cake crumbles + frosting, but found this to be a little easier to dip as the pops weren’t as heavy. Another bonus is not having to roll them all by hand. There are a few cons though, no extra flavor and moistness from the frosting and special equipment is needed. To each (method) their own.
Items Needed
- any cake recipe
- cake pop specific pan (the one I used is silicone)
- candy melts (Wilton or Make ‘n Mold or any brand will do)
- oil – non-flavored such as canola or vegetable (to thin chocolate as needed)
- sprinkles (festive in this case)
How To
- Bake cake pops according to directions included with pan and allow to cool.
- Melt chocolate. I find using a double boiler to be a little more time consuming than the microwave method, but have much better results. I
sometimesalways manage to burn my chocolate in the microwave – – clumpy chocolate + cake pops = major fail - Make the chocolate the right consistency. You want it to be able to fall off a spoon in a slow steady stream, not globs, but not like pouring water out of a pitcher, but more like pancake batter. Sorry for all the analogies, but I find them to be helpful at times. If your chocolate is too thick thin with a little (1/2 tsp ish) oil, stir well and add more as needed. I do not measure these things I just go by look. For more specifics I recommend other sites dedicated to this sort of thing like Bakerella.
- Dip end of lollipop stick in a little chocolate and insert into cake pop, allow a few minutes to set.
- Dip pop into melted chocolate, remove pop in swirling motion to remove excess chocolate (youtube has excellent tutorials on this).
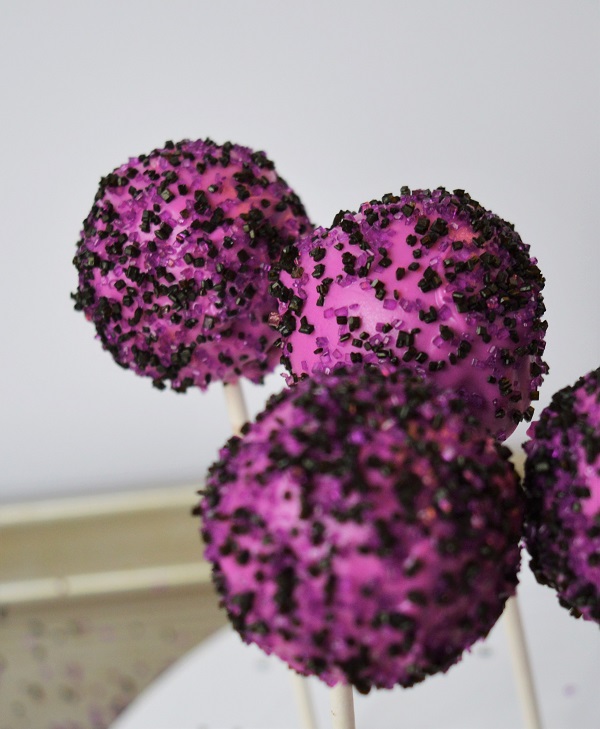
- Cover in sprinkles. You can either roll in a bowl full of sprinkles or drop them on by hand. I prefer the later method with a cookie sheet under my work area to ease in clean up.
- Let stand to dry. Some pans have little holes to place the pops in, if yours does not you can simply use a piece of styrofoam to hold them.
- Eat. Or share with friends and family!